Getting Started
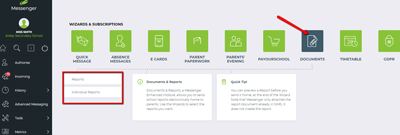
From your Tiles (Homepage) you will see the Documents tile. If you are unable to see this, contact your school administrator as they will be able to check your permissions in Messenger.
Click image to expand.
1) Click on Reports or Individual Reports from the Documents This will open the relevant wizard.
a. Reports: search for recipients by Class or Group. Multi-select is possible.
b. Individual Reports: search for recipients by Student Names. Multi-select is possible.
2) From the first step, begin typing the name of the group or student you wish to locate. Tick the required recipients and click Next Step from the bottom right.
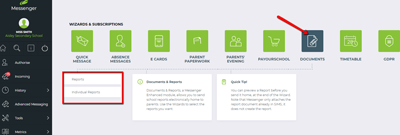
From your Tiles (Homepage) you will see the Documents tile. If you are unable to see this, contact your school administrator as they will be able to check your permissions in Messenger.
Click image to expand.
1) Click on Reports or Individual Reports from the Documents This will open the relevant wizard.
a. Reports: search for recipients by Class or Group. Multi-select is possible.
b. Individual Reports: search for recipients by Student Names. Multi-select is possible.
2) From the first step, begin typing the name of the group or student you wish to locate. Tick the required recipients and click Next Step from the bottom right.
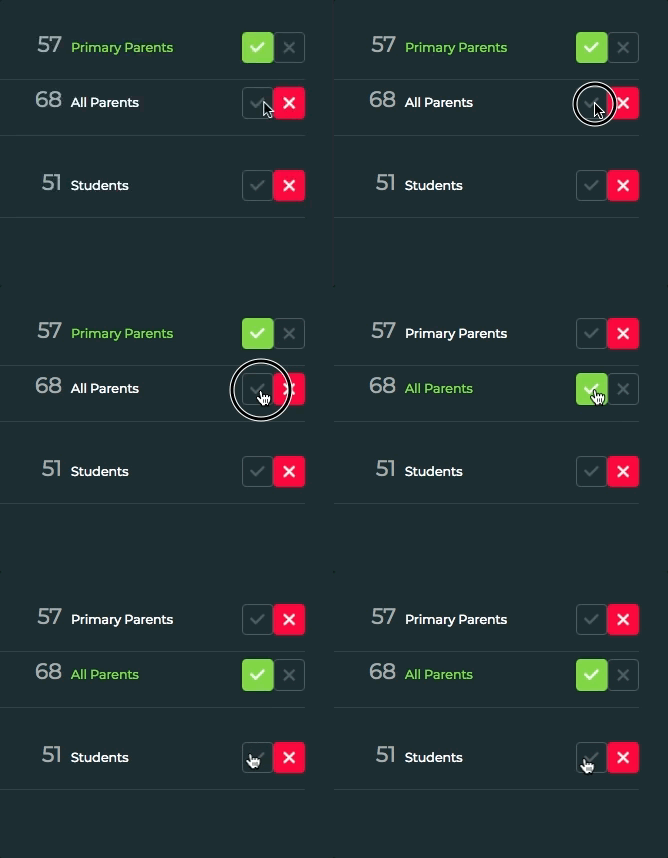
3) Choose the message recipients from the following list: Primary Parents, All Parents
a. As it is likely that you will want all parents to receive school reports (rather than just primary parents), toggle All Parents then click Next Step.
4) From the Send Via page:
a. You can send an SMS notification to parents, informing them that they have received a report via email.
b. Leave the option set
b. Click Next Step.
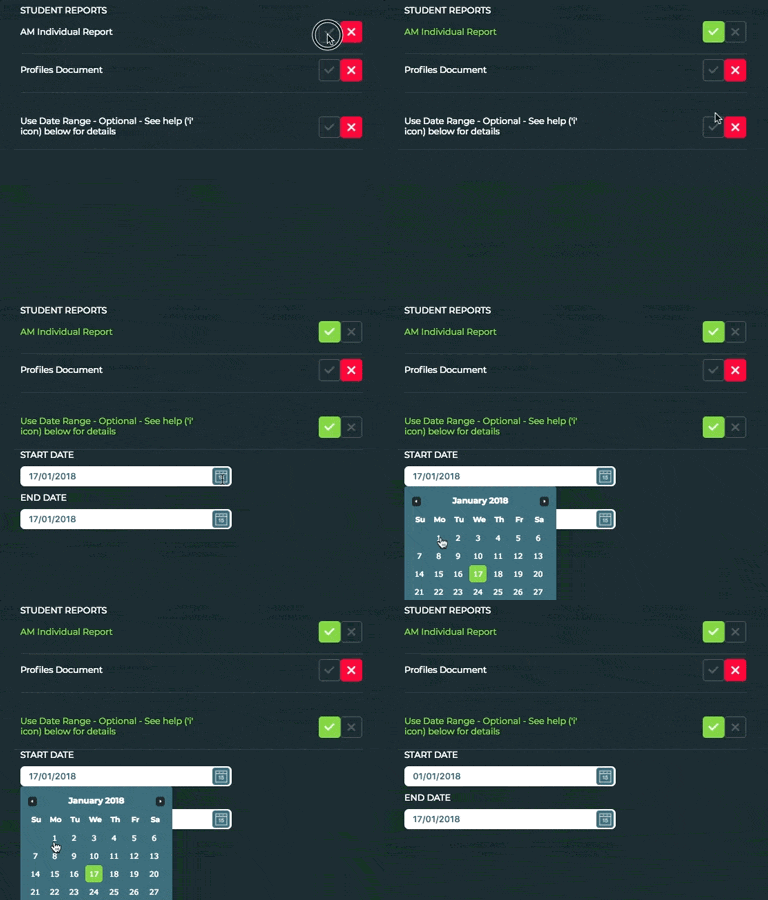
5) From the Student Reports page, you will need to choose a report type (selected from the Linked Documents area in SIMS). Only reports marked as public in SIMS will be selected and sent.
a. AM Individual Reports: the latest report created in Assessment Manager (SIMS), stored against each student.
b. Profiles Documents: the latest report created in Profiles, stored against each student.
6) After selecting a report type, you also have the option to select a Date Range. Toggle to activate, and then enter the date range in the fields provided. When you are ready, click Next Step.
a. If you don’t specify
7) Tick a message that parents will be emailed along with the attached report (as a PDF), then click Next Step.
a. Message templates can be
8) On the final step of the

9) From the same page, you will need to review all options for sending the message.
a. If you would like to update or change anything, you can do so by clicking Back (bottom left) and updating the relevant section.
b. To enable additional options such as message translation or message scheduling, click Options.
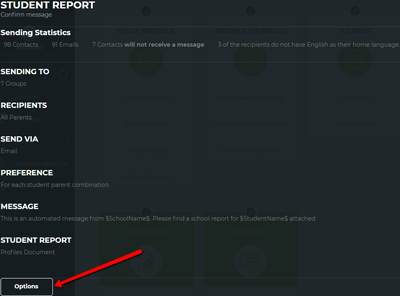
10) If you are ready to send the message, simply click Send from the bottom right of the page to send it to the queue.
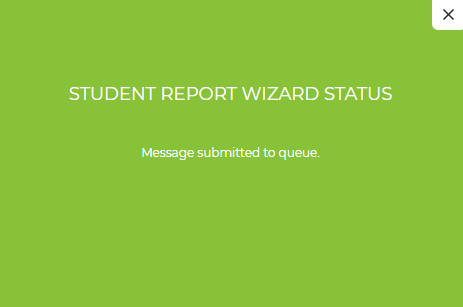
11) Once you have sent a message you will see a confirmation that they have been submitted to the message history queue.
View Sent Reports
After you have sent timetables home, you can open your Messenger History. As timetable data is first collected from SIMS, the status
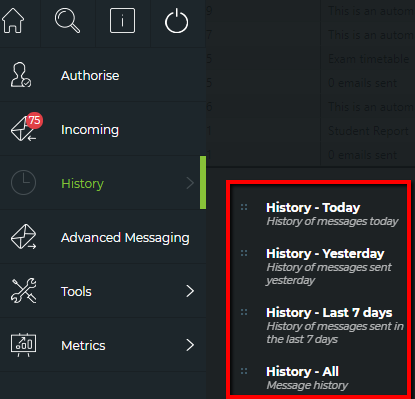
1) From Message History, queued reports will be displayed under the Message column as Student Report.
a. The Status column will initially display as Awaiting Data. Once the report information is collected from SIMS, it will be emailed to parents and the status will update to Processed.

2) Click on the message to view details in full, including the delivery status of individual recipients. For more information on how to navigate Message History, click here.
Top Tip: If you find a student is missing from the list of sent messages, it means they did not have a report of the type selected within the date range, either specified or implied as most recent. You should look in SIMS to investigate this.

.png?width=1545&name=Mock-up-(Feb-18).png)

